A cooling system problem can cause serious engine damage if not fixed quickly. The cooling system keeps the engine at the right temperature.
Not fixing a coolant leak can lead to expensive repairs. It’s key to find and fix the problem early to avoid more damage.
The Toyota cooling system helps control engine temperature. A leak can make the engine too hot, causing big problems.
Knowing how your car’s cooling system works and spotting a leak are the first steps to fixing it.
Understanding Toyota Coolant Leaks
Knowing how coolant works in your Toyota is key to spotting leaks. Coolant, or antifreeze, keeps your engine cool. It stops it from overheating and helps your engine last longer.
What Is Engine Coolant and Its Function
Engine coolant is a mix of water and antifreeze. It goes through the engine, taking heat away and sending it to the radiator. Its main job is to keep the engine at the right temperature, between 195°F and 220°F. Keeping coolant in good shape is very important to avoid damage.
Common Causes of Toyota Coolant Leaks
There are many reasons why Toyotas might leak coolant. Deteriorated hoses, bad radiator caps, and cracked radiators are common causes. Leaks can also come from the engine block, cylinder head, or head gasket. Checking your car regularly can catch these problems early.
| Cause of Leak | Description |
|---|---|
| Deteriorated Hoses | Hoses become brittle and crack over time, leading to leaks. |
| Faulty Radiator Cap | A damaged cap can cause pressure loss, leading to coolant leakage. |
| Cracked Radiator | Physical damage or corrosion can cause the radiator to leak. |
The Importance of Timely Repairs
Fixing coolant leaks quickly is very important. If you don’t, it can cause your engine to overheat. This can lead to expensive repairs, like needing a new engine. Fixing it fast can save you money and keep your Toyota running well.
Signs and Symptoms of a Toyota Coolant Leak
Spotting a coolant leak in your Toyota is key to avoiding engine damage. A leak can cause your engine to overheat and fail, leading to expensive fixes if not fixed fast.
Visual Indicators of Coolant Leakage
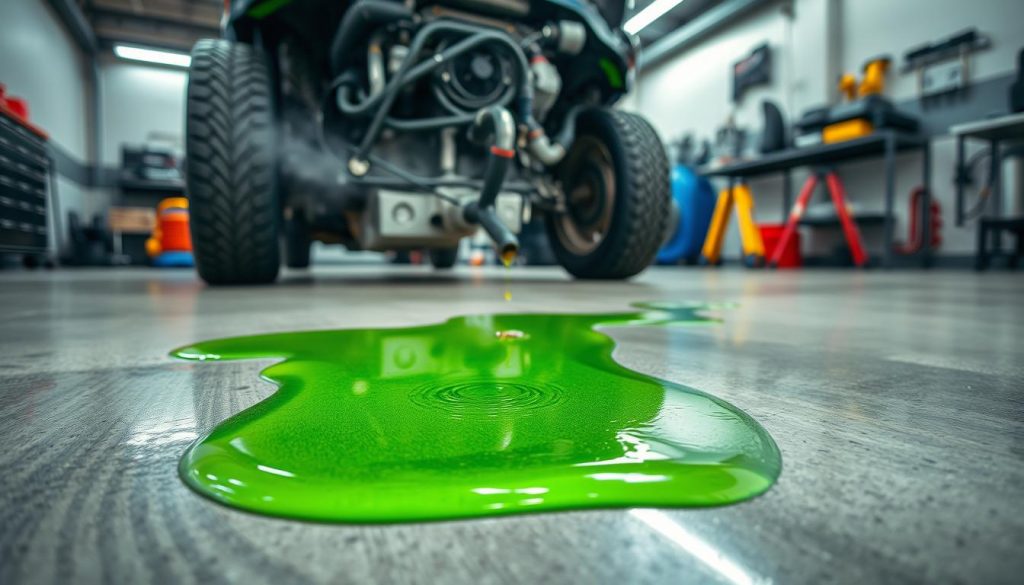
Seeing puddles or stains under your car is a clear sign of a leak. Look for signs around hoses, connections, and the radiator too. Check your Toyota’s cooling system often for leaks.
Performance Issues Related to Coolant Loss
A leak can make your engine overheat, causing problems like lower fuel efficiency and power. If you see these issues, check for leaks right away.
Dashboard Warning Signs
Modern Toyotas have smart warning systems. A rising temperature gauge or a coolant level warning on your dashboard means there’s a leak. These signs are important and should not be ignored.
Smell and Sound Indicators
A sweet smell inside your car might mean a coolant leak. You might also hear a hissing sound from the engine if there’s a leak. These are signs you should look into further.
Knowing these signs helps you catch a coolant leak early. This way, you can fix it before it causes bigger problems.
Safety Precautions Before Starting Repairs
Before starting to fix a Toyota coolant leak, safety first is key. It keeps you safe and helps the repair go smoothly.
Personal Protection Equipment Needed
Wearing the right gear is vital when working with coolant. Gloves protect your skin, safety glasses shield your eyes, and a face mask keeps harmful fumes out. Being well-protected is essential for your health during the coolant leak fix.
Vehicle Preparation Steps
Getting your Toyota ready for repair is important. Park it on a flat surface and engage the parking brake. Let the engine cool down to avoid burns or injuries. Also, check your owner’s manual for any special steps, like for a Toyota water pump leak.
Handling Coolant Safely
Coolant can be dangerous if not handled right. Always follow the manufacturer’s instructions for handling and disposing of it. Be careful not to let coolant spill on the ground or other areas. Safe handling keeps you safe and helps the environment too.
| Safety Measure | Description | Importance Level |
|---|---|---|
| Personal Protection Equipment | Gloves, safety glasses, face mask | High |
| Vehicle Preparation | Parking on a level surface, applying the parking brake | High |
| Coolant Handling | Following manufacturer’s guidelines for handling and disposal | High |
Essential Tools and Materials for Toyota Coolant Leak Repair
For fixing coolant leaks in Toyota cars, you need the right tools and materials. The correct equipment makes the repair smoother and ensures it’s done right.
Basic Hand Tools Required
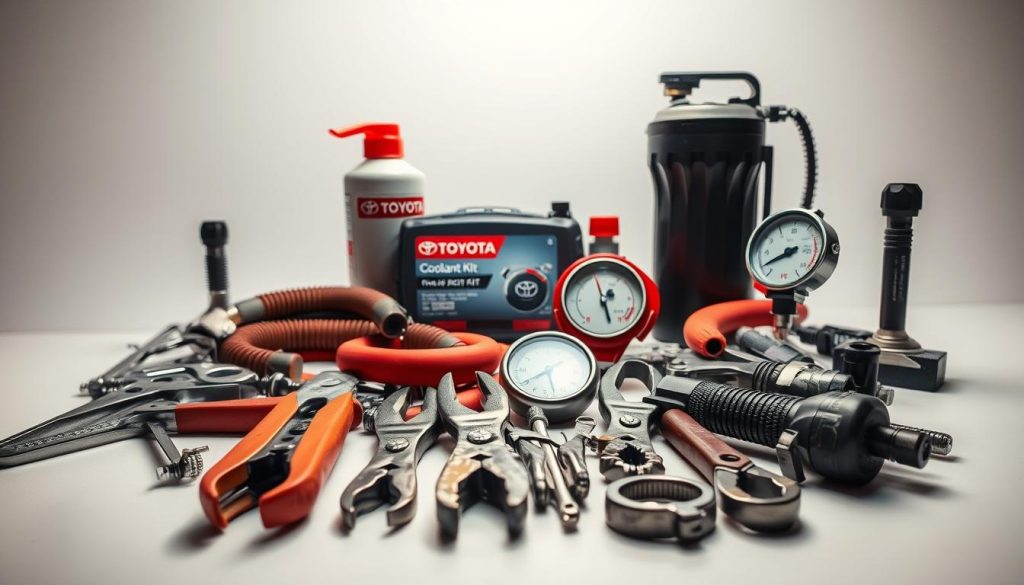
You’ll need basic hand tools for most coolant leak repairs. This includes a socket set, wrenches, and pliers. Also, a coolant drain pan is key for safely draining coolant.
Specialized Cooling System Tools
Special tools help diagnose and fix coolant leaks. A coolant pressure tester is great for finding leaks. A UV dye kit helps find where the leak is. Other useful tools are a radiator cap tester and a cooling system flush kit.
Recommended Coolant Types for Toyota Vehicles
Choosing the right coolant is key for your Toyota’s engine. Toyota suggests using 50/50 premixed coolant that meets their standards.
Differences Between Toyota Models
Toyota models might need different coolants. Some use green coolant, while others need OAT (Organic Acid Technology) coolant or HOAT (Hybrid Organic Acid Technology) coolant.
OEM vs. Aftermarket Options
You can pick between OEM and aftermarket coolants. OEM coolant is made for Toyota, but good aftermarket coolants can be cheaper and work well.
Additional Supplies and Parts
You might need to replace parts like hoses, clamps, or gaskets. Having a repair manual for your Toyota model is also wise for detailed steps.
| Tool/Material | Description | Importance Level |
|---|---|---|
| Socket Set | For removing and installing various components | High |
| Coolant Pressure Tester | For diagnosing coolant leaks | High |
| UV Dye Kit | For pinpointing the source of coolant leaks | Medium |
| 50/50 Premixed Coolant | For refilling the cooling system | High |
Diagnosing the Source of Your Toyota Coolant Leak
Finding where a coolant leak is coming from is key to fixing it right. A careful method helps find the leak spot quickly and efficiently.
Visual Inspection Techniques
Start by looking for coolant leaks around key parts like the radiator and hoses. Look for cracks, rust, or damage that might be causing the leak. Cleaning the area can also help spot the leak better.
Pressure Testing the Cooling System
Pressure testing is a detailed way to find coolant leaks. It involves pressurizing the system to find leaks not seen by the eye. Use a cooling system pressure tester to pressurize, then listen for air sounds or look for bubbles. This method finds the leak’s exact spot.
Using UV Dye for Leak Detection
UV dye is another good way to find coolant leaks. Add UV dye to the coolant and use a UV light to see the system. The dye will show up under UV light, making leaks easy to find.
Common Leak Points in Toyota Cooling Systems
Some parts in Toyota cooling systems leak more than others. Common spots include the radiator, hoses, water pump, and gaskets. Knowing these can help you figure out where the leak is.
Model-Specific Vulnerabilities
Some Toyota models are more likely to have certain cooling system problems. For example, some might leak more from the radiator or hoses. Check your vehicle’s repair manual for specific issues.
Age-Related Issues
As Toyota cars get older, their cooling systems can leak more. Regular checks and maintenance can catch problems early and prevent big issues.
Repairing Radiator Coolant Leaks in Toyota Vehicles
Fixing radiator coolant leaks in Toyota cars needs a careful plan. First, find out how bad the damage is. Then, think about quick fixes or if you need to replace the radiator.
Identifying Radiator Damage
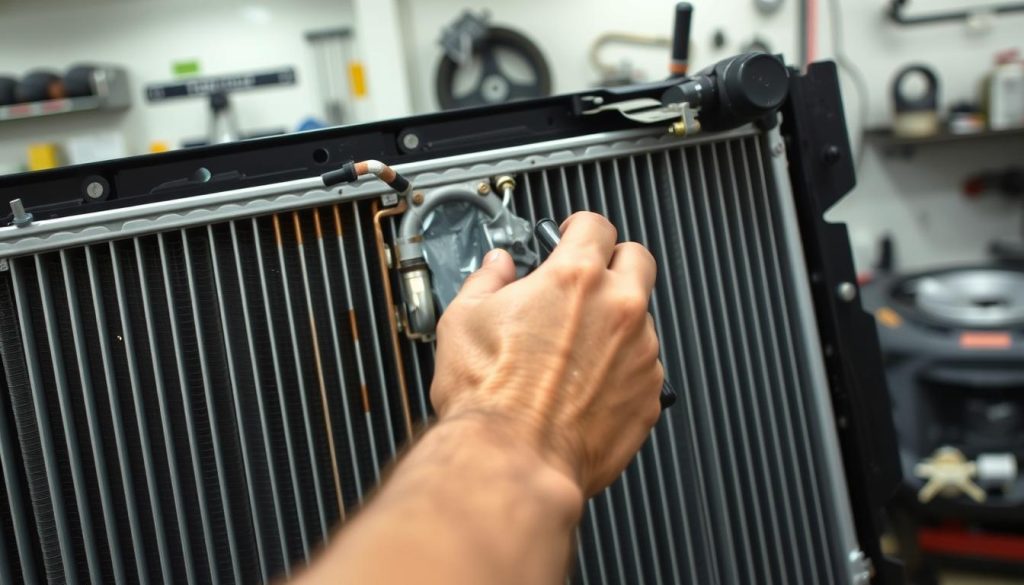
Start by checking the radiator for damage. Look for rust, corrosion, or any physical harm. Check the radiator cap, hoses, and seams for leaks. This will help you decide what to do next.
Temporary Radiator Repair Options
For small leaks, you might use a temporary fix. Products like radiator leak sealants or epoxy can help. But remember, these fixes are not permanent and might not work for all damage.
“Temporary fixes can provide a quick solution, but they often require further repair or replacement down the line.”
Radiator Replacement Procedure
If the damage is big, you’ll need to replace the radiator. This involves several steps:
Removing the Old Radiator
First, drain the coolant. Then, take off the hoses and electrical connections. Remove any brackets to get to the radiator.
Installing the New Radiator
Put the new radiator in place. Reattach the brackets and reconnect the hoses and electrical connections.
Connecting Hoses and Components
Make sure all hoses are tight. Also, reconnect any fans or other parts.
| Step | Description |
|---|---|
| 1 | Drain the coolant |
| 2 | Disconnect hoses and electrical connectors |
| 3 | Remove the old radiator |
| 4 | Install the new radiator |
| 5 | Reconnect hoses and components |
Testing After Repair
After fixing or replacing the radiator, test it. Look for leaks, check the coolant level, and watch the temperature gauge. This ensures the radiator works right.
Fixing Toyota Water Pump Coolant Leaks
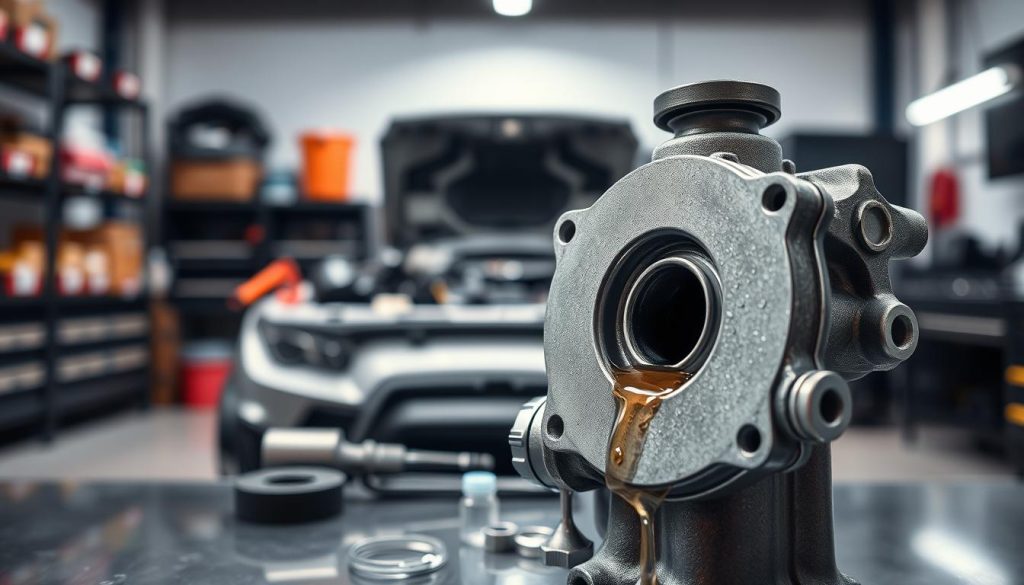
Toyota water pump failures can cause coolant leaks. If not fixed, these leaks can lead to expensive engine repairs. The water pump keeps your engine cool by circulating coolant.
Signs of Water Pump Failure
Look out for leaks, unusual noises, and temperature changes. If you see these signs, check your water pump. A leak can cause your engine to overheat.
Grinding or whining sounds mean the water pump bearings are failing. Fixing this quickly can stop engine damage.
Water Pump Removal Process
Accessing the Water Pump
To get to the water pump, you might need to remove parts. This depends on your Toyota model. Always check your repair manual.
Removing Belts and Components
Begin by taking off the serpentine belt and other parts. This clears the way to work on the water pump.
Detaching the Water Pump
With clear access, remove the water pump. Be careful not to damage nearby parts. Be ready for coolant spills.
Installation of New Water Pump
Putting in a new water pump is the opposite of taking it out. Make sure everything is tight and connections are right. Use a new gasket to avoid leaks.
Post-Installation Checks
After installing the new pump, check for leaks and coolant levels. Watch your temperature gauge to make sure everything is working right.
How to Fix a Toyota Coolant Leak from Hoses and Clamps
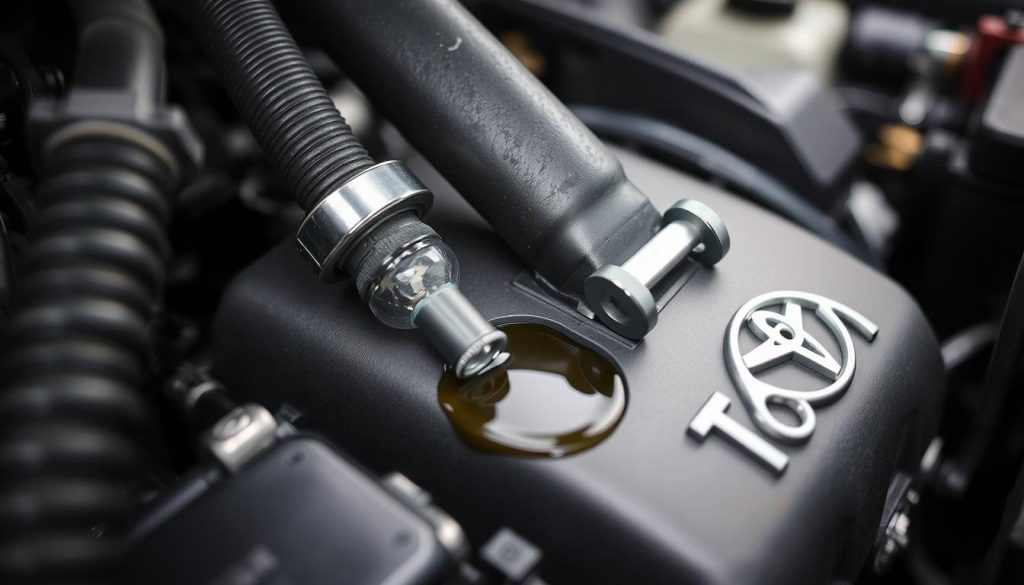
When you notice a Toyota coolant leak, it’s key to check the hoses and clamps. These parts are vital for the Toyota cooling system‘s health. Hoses can wear out, and clamps can loosen, causing leaks.
Inspecting Hoses for Damage
Start by checking the hoses for damage. Look for cracks, soft spots, or wear. Also, check for leaks around the clamps.
Replacing Deteriorated Hoses
If hoses are damaged, they must be replaced. Make sure to get hoses that fit your Toyota. Secure the new hoses with clamps to avoid leaks.
Proper Clamp Installation Techniques
Installing clamps correctly is key to stopping leaks. Tighten clamps well but avoid over-tightening, which can harm hoses. The right tools for installation are important.
Preventative Hose Maintenance
Regular maintenance of your Toyota’s hoses can prevent leaks. Check hoses often for damage and ensure clamps are tight. Being proactive helps keep your cooling system running smoothly.
Repairing Gasket and Seal Coolant Leaks
Fixing gasket and seal coolant leaks is key to keeping your Toyota’s engine healthy. Leaks from these areas can cause engine overheating and harm other parts. We’ll look at how to find and fix these leaks.
Identifying Leaking Gaskets and Seals
To start fixing leaks, you need to find where they’re coming from. Check the cooling system’s gaskets and seals for wear or damage. Look closely at the thermostat housing gasket, intake manifold gasket, and water outlet gaskets.
Thermostat Housing Gasket Replacement
The thermostat housing gasket often leaks coolant. To fix it, drain the coolant first. Then, take off the thermostat housing to get to the gasket. Clean the area well before putting in a new gasket.
Put everything back together in the opposite order. Make sure all connections are tight.
Intake Manifold Gasket Repair
Leaks from the intake manifold gasket can also lose coolant. To fix it, remove the intake manifold to see the gasket. Check the manifold for damage and clean it before adding a new gasket.
Make sure all bolts are tightened right to avoid leaks later.
Dealing with Water Outlet Gaskets
The water outlet gasket can also leak. To fix or replace it, take off the water outlet housing. Clean the area and put in a new gasket if needed. Then, put the housing back together, making sure it’s secure.
By following these steps, you can fix gasket and seal coolant leaks in your Toyota. This helps prevent engine overheating and other problems from coolant loss.
Addressing Toyota Head Gasket Coolant Leaks
Toyota owners need to know that head gasket leaks can cause big problems. The head gasket is key to the engine’s work. It keeps the cylinder head and engine block sealed, stopping coolant and oil from mixing. If it fails, serious issues can arise.
Symptoms of Head Gasket Failure
Spotting head gasket failure early can save money on repairs. Look out for these signs:
- Overheating engine
- White smoke from the exhaust
- Coolant leakage
- Engine misfires
- Milky substance in the oil
These signs mean the head gasket is not working right. Coolant might leak into the engine or oil.
Confirming Head Gasket Leaks
To check for head gasket leaks, several tests can be done. These include:
- Visual inspection for signs of leakage
- Pressure testing the cooling system
- Using a UV dye to detect leaks
- Checking for combustion gases in the coolant
Head Gasket Replacement Overview
Replacing a head gasket is a detailed job. It involves several steps:
- Disassembling the engine to access the head gasket
- Inspecting the cylinder head and engine block for damage
- Replacing the head gasket with a new one
- Reassembling the engine
This repair needs care and the right tools to get it right.
When to Seek Professional Help
If you’re not good at engine repairs, get a pro for head gasket replacement. It’s a complex job that needs special tools. A mechanic can do it well and fast.
| Repair Type | DIY Complexity | Professional Cost |
|---|---|---|
| Head Gasket Replacement | High | $1,000-$3,000 |
| Coolant Leak Detection | Medium | $100-$500 |
Refilling and Bleeding the Toyota Cooling System
After fixing the coolant leak in your Toyota, you need to refill and bleed the cooling system. This ensures your engine runs well and lasts long.
Selecting the Correct Coolant
First, pick the right coolant for your Toyota. Toyota suggests a coolant that fits your car’s needs and materials. The wrong coolant can harm your cooling system.
Proper Filling Procedure
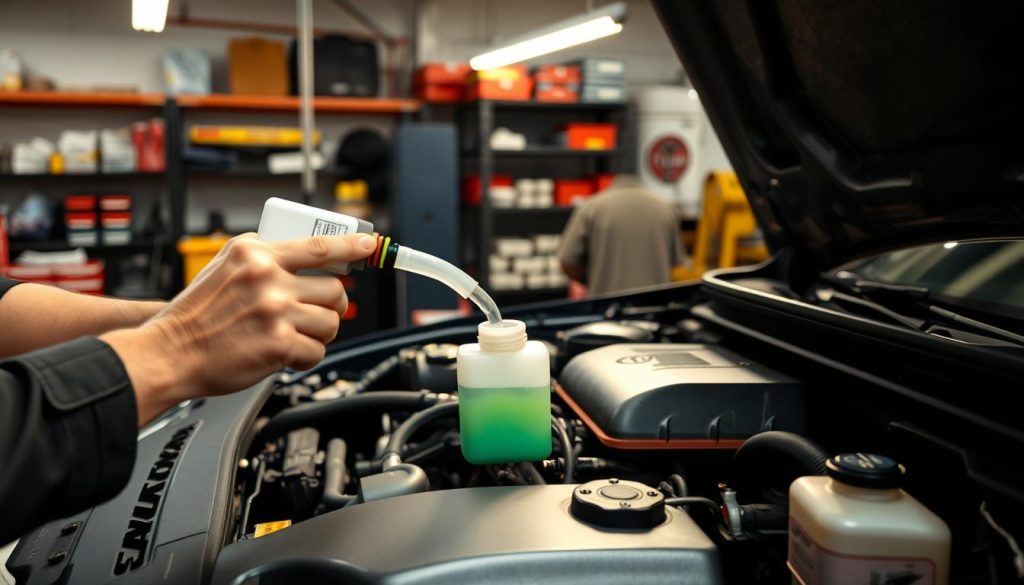
To fill the cooling system right, find the coolant reservoir. It has level markers. Fill it up to the max with the recommended coolant. Always check your Toyota’s repair manual for specific filling instructions.
Bleeding Air from the System
Bleeding air from the cooling system is key to avoid overheating. Start the engine without the radiator cap or use a bleeding screw. As it warms up, air bubbles will come out. Keep running the engine until the coolant flows smoothly without air.
Final System Checks
After refilling and bleeding, do a final check. Look for leaks and make sure the system works right. Watch the coolant level and temperature gauge on your next drives to see if everything’s okay.
| Check | Description | Expected Outcome |
|---|---|---|
| Coolant Level | Check the coolant reservoir level. | Level should be at or near maximum. |
| Leak Inspection | Inspect the cooling system for signs of leaks. | No signs of leakage. |
| Temperature Gauge | Monitor the temperature gauge during driving. | Temperature should be within normal range. |
Cost Considerations for Toyota Coolant Leak Repairs
Understanding the cost of fixing a Toyota coolant leak is key. The price can change a lot based on the repair type and who does it. You might choose to fix it yourself or get a professional.
DIY vs. Professional Repair Costs
Fixing it yourself can save on labor costs. But, you’ll need to buy parts and tools. For a Toyota water pump leak, you might need a pro, which adds to the cost.
Getting a pro to do the job means you get experience and a warranty. But, it costs more upfront. Think about your DIY skills and the repair’s complexity before deciding.
Price Breakdown by Repair Type
Fixing a coolant leak can cost little for simple fixes or a lot for big repairs. For example, fixing a Toyota radiator leak or a head gasket can be very expensive.
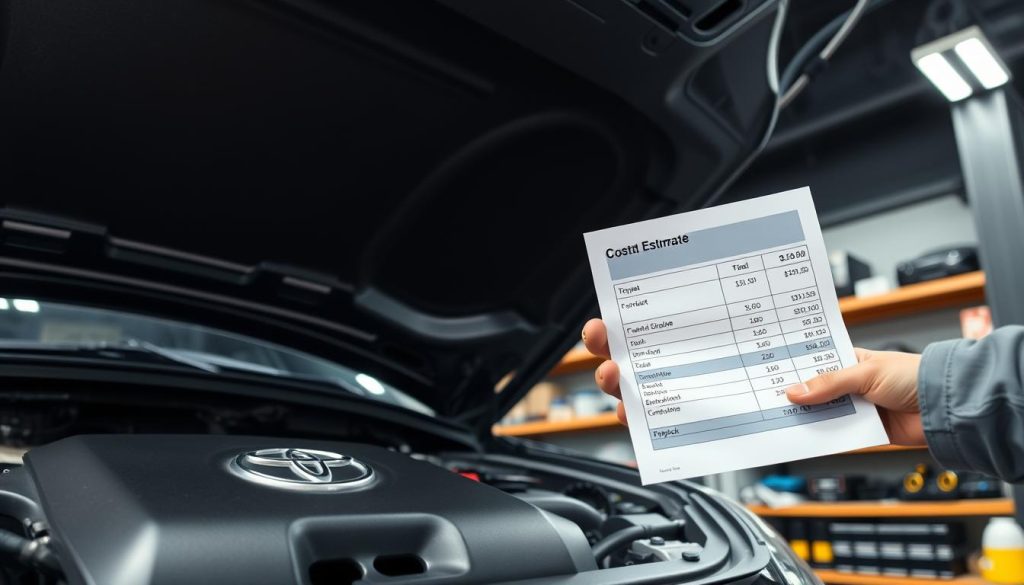
Replacing a water pump can cost between $300 to $800. This includes parts and labor. Knowing the exact repair cost is important.
Insurance and Warranty Coverage
Check if your insurance or warranty covers the repair. Some policies might help with coolant leak fixes, like if it’s due to a previous issue.
It’s important to check your warranty or insurance policy. This way, you won’t face unexpected costs for coolant leak repair.
Conclusion
Regular maintenance and quick repairs are key to stopping coolant leaks. This keeps your Toyota’s engine running well for a long time. Knowing how to spot and fix leaks helps keep your cooling system in top shape.
A cool and well-maintained system is vital for your engine’s best performance. Fixing leaks fast stops engine damage and saves you money. Knowing how to repair a leak gives you the power to care for your car right.
By using the tips from this article, you can find and fix leaks in your Toyota’s cooling system. This keeps your car running smoothly and helps it last longer. Fixing a leak is not just a fix; it’s a way to keep your Toyota healthy.
FAQ
What are the common signs of a coolant leak in my Toyota?
Look out for coolant puddles under your car, a sweet smell, and an overheating engine. Also, watch for dashboard lights that show low coolant or engine temperature issues.
How do I diagnose a coolant leak in my Toyota?
Start by visually checking the cooling system. Then, do a pressure test to find leaks. Use UV dye to spot leaks. Common leak spots are the radiator, water pump, hoses, and gaskets.
Can I drive my Toyota with a coolant leak?
No, driving with a leak can cause the engine to overheat. This can damage the engine and lead to a breakdown. It’s important to fix it quickly.
What is the cost of repairing a coolant leak in my Toyota?
Repair costs depend on where the leak is. DIY fixes can save money. Professional repairs can cost from a few hundred to over a thousand dollars, based on the repair’s complexity.
How do I refill and bleed the cooling system after a repair?
First, choose the right coolant for your Toyota. Then, fill the system as the manufacturer says. Bleed the system to remove air. Make sure everything works right before you’re done.
What safety precautions should I take when handling coolant?
Wear gloves and eye protection. Make sure the engine is cool before you start. Handle coolant carefully to avoid spills and skin contact.
Can a coolant leak cause damage to other parts of my Toyota?
Yes, a leak can cause the engine to overheat. This can harm the engine, cylinder head, and other parts. Fixing it quickly is key to avoid more damage.
How often should I check my Toyota’s cooling system for leaks?
Check the system during routine maintenance. Look for leaks, check coolant levels, and inspect hoses and connections for damage or wear.
What are the benefits of using the correct coolant type for my Toyota?
The right coolant ensures your car’s materials are safe. It keeps your car cool and prevents corrosion in the cooling system.
When should I seek professional help for a coolant leak repair?
Get professional help if you’re not sure how to fix it. If the leak is big or involves complex parts like the head gasket, seek help.
